One of the best ways to grow as an artist is by taking a class.
Workshops provide opportunities to hone a particular skill,
try something new or simply explore.
They are also excellent opportunities to connect with others
sharing a similar interest and build friendships, a community
of like minds, like hearts.
Artfest is without a doubt one of the very best artistic
experiences anyone could have. After thirteen years of
hosting this incredible retreat, coordinators, Teesha and
Tracy Moore have decided to bring the fairytale to an end.
For me, Artfest has been truly life altering. I am forever
changed, in
profound ways as I gathered year after year
to be part of this event.
Artfest was my,
first ever, art retreat, and for many years I
reveled in the role of student. Slowly I began to spread my
artistic wings and gathered my courage to try my hand at
selling my art at vendor night, which lead to the next brave
step of teaching a workshop.
Teesha gave me all these first time opportunities, which
built my confidence and guided me to other,
BIGGER happenings in my life. I know, without a doubt, I would
not be where I am today without Artfest.
Although it is the end of an era, I am thrilled beyond measure
to be teaching for another year, the final year.
In fact, I would like to extend a personal invitation to come
participate in several fun and unique classes I am giving
that are perfect for a first time attendee or veteran Artfester.
I am especially proud of this workshops as they provide
valuable insight and training in the areas of sketching,
drawing, painting, sculpture, journaling, design and
mixed-media that can be applied to future projects.

 Thursday, March 29: Technicolor Journaling
 -
Experience an art journaling color explosion by rendering
subjects using intense, high chroma, deeply saturated art
sticks.

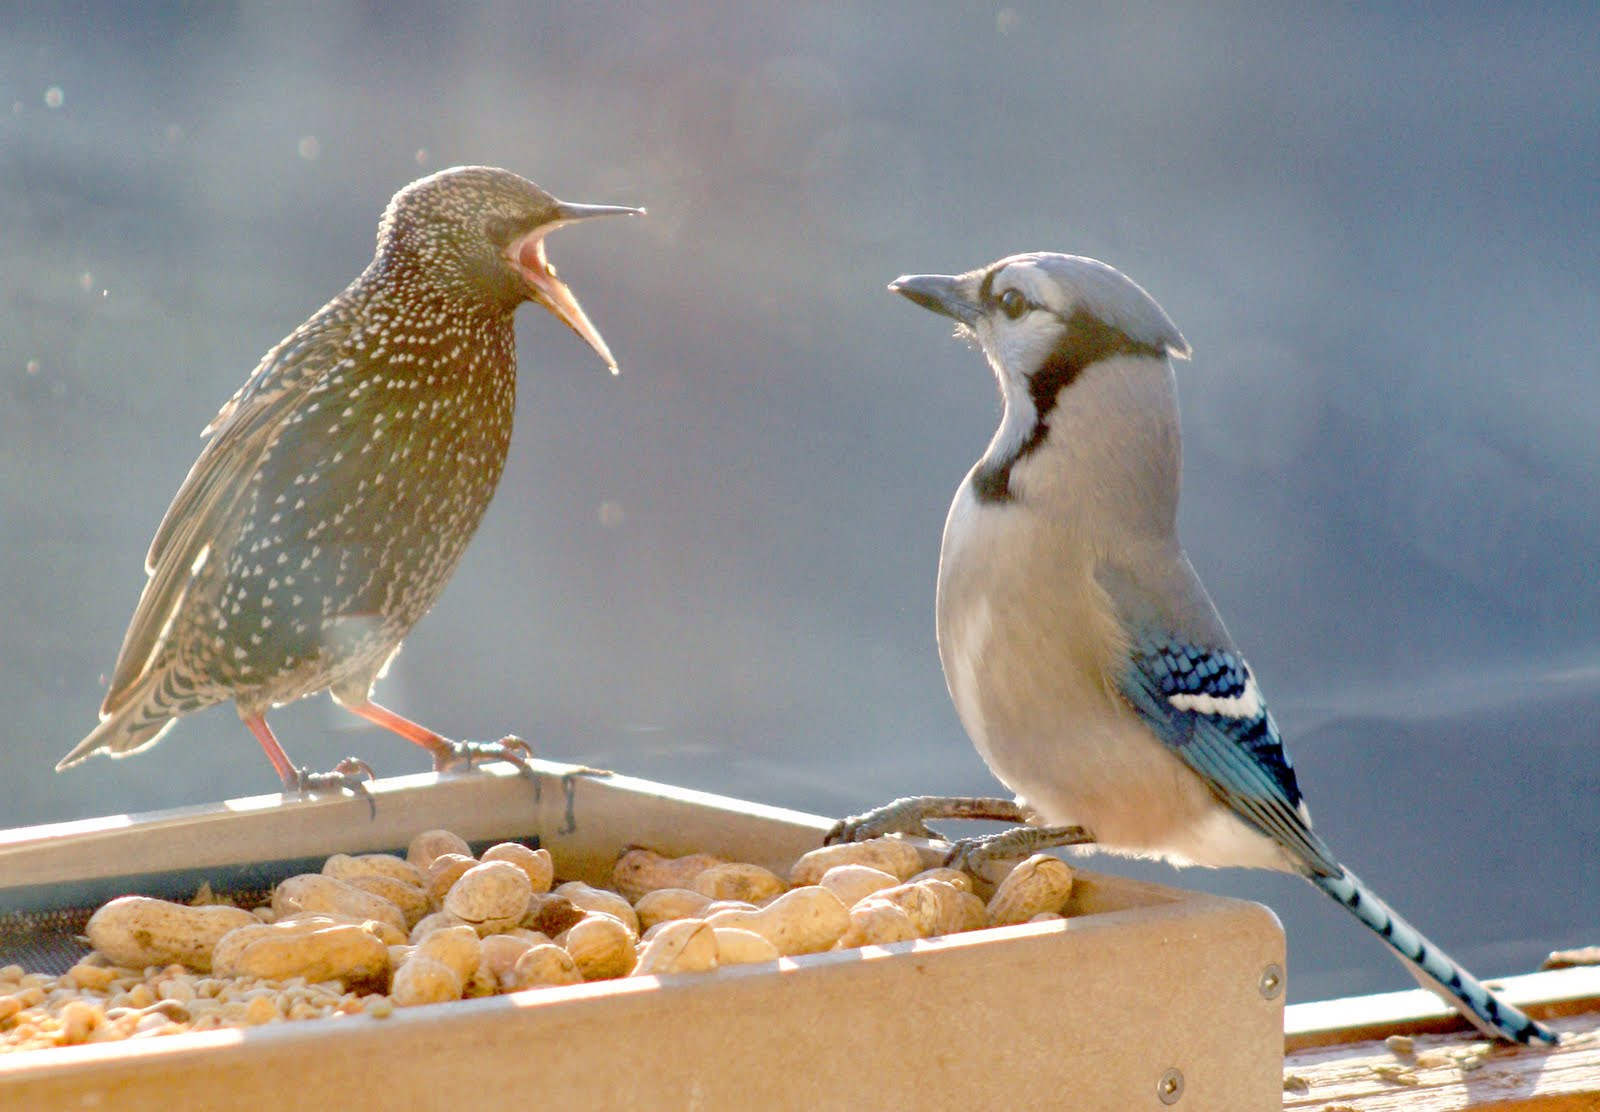
 Saturday, March 31: The Curiosities Within
 -
Much like a Cabinet of Curiosities, we will create and assemble
a fascinating collection of possible found objects from nature
and explore the idea of sculpture through the manipulation of
paper into three-dimensional works of art. Each piece is displayed
in exhibition format/style and stored in a uniquely weathered box.

Don't wait to sign-up, as space is limited for this final farewell
event. Register
here!


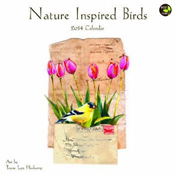
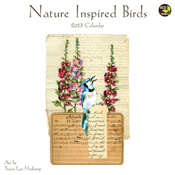
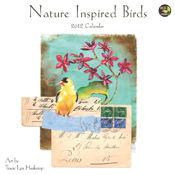
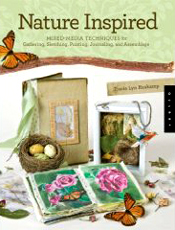 * Available On-Line or in Stores NOW!