After a glorious week in Orvieto, I
had the incredible opportunity to
spend several additional days in
Rome.
This city is definitely an artist's
Mecca with a plethora of master-
pieces to behold around every
corner. Each work so detailed,
and most are completely over-
whelming in scale.
In an age of instant everything, it
is very hard to comprehend that
even the smallest pieces of art and
architecture took decades to finish.
And many were not completed before
the requesting patron or the rendering
artist had passed away.
There was just so much about
this metropolis that took my
breath away. To see such
treasures that are still here
today being centuries old,
and having the chance to
visit, in person, the buildings
and artworks I had only seen
via slide shows during Art
History class was simply
AMAZING!

Actually being able to gaze upon
such places and works, so as to
fully understand and reflect on
their current condition, surroundings,
details, and setting made a big impact
on me.

All of the churches were not only
locations of worship, but also
housed tombs of past figures
of historical greatness, mostly
Popes and religious leaders.
However, in the Pantheon I was
able to see the tomb of the artist,
Raphael, and was quite moved by
the quote carved into the marble
surround describing this master.
"Here Lies Raphael by whom Nature
feared to be out done when he lived
and when he died feared she herself
would die."Such beautiful prose that truly touched
the heart of this nature artist.

One struggle while photographing my
site-seeing experiences was trying to
convey the enormous size of the subjects.
The frescos, cathedrals, the ancient
Roman ruins were extremely large.
Nothing was small or petite, every-
thing was very grand.


The streets were so
ALIVE! Lots of little cafes dotted alleyways
making them the perfect spot for
people watching and listening to
the music coming from street performers
that filled the air in every piazza.
I very much enjoyed the vibrant
atmosphere of the city and its
hospitality.


I was quite lucky to stay in a
hotel near the Spanish Step
with a magnificent view.
We splurged and ate dinner in
the restaurant on the roof top
just so we could have a sunset
photo op of the Vatican and
the cityscape.

Of course the food was incredible
in Rome, just like it had been in
Orvieto. And I had my very first
cannoli...
YUM!

On my last day in Italy, I visited the Vatican.
This was both a wonderful and stressful
occasion.
I learned so much about this site,
like that the Vatican is the smallest
country in the world, only a little over
100 acres in size. It is guarded by two
groups of police. The Swiss guards are
considered the secret service and all
the members
ARE, in fact, Swiss.
The mulitple galleries of sculptures
and art, the Sistine Chapel, and St.
Peter's Basilica are
SO UTTERLY
FANTASTIC! that everyone
should see them in person before
they die.
However, it was easy to feel overcome by
the avalanche of people visiting. One of
our guides told us their can be up to
20,000 people pass through in a
day.

I was lucky enough to participate
in a tour of the Vatican gardens
in the morning. The grounds are
very serene with perfect foliage.


The afternoon was spent touring
the interior. It was interesting to
see how much ancient Roman
art the Vatican possesses, especially
considering the pagan symbolism it
represents.

And the angel frescos were the
most lavish and ornate I have ever
witnessed. I could have stared at
these paintings forever they were so
incredible!
Shown are just a couple of my very favorites.


It was a
GREAT trip! As a perfect
ending to this journey, I am excited
to share a few of my favorite journal
pages in an upcoming post!


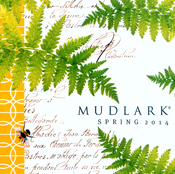
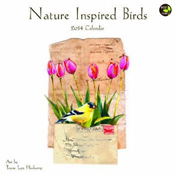
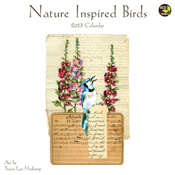
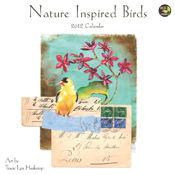
 * Available On-Line or in Stores NOW!